Products designated as <b>default_store</b> cannot ship outside of the <b>default_store</b> store.<br/>Your cart will be emptied if you choose to proceed. <br/><br/>Are you sure you want to switch to <b>remote_store</b> store?

Open 9am - 5pm EST

1-844-WALABOT

Welcome to Walabot DIY What’s The Drill Series

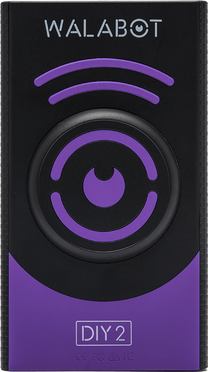
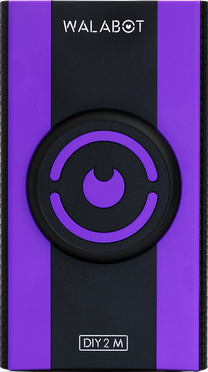
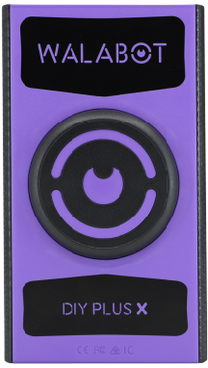
Click on your device to learn how to set it up

Change device

1

Walabot DIY 2

How to set up your Walabot

Choose your phone operating system

How to set up your Walabot

Just follow these quick steps:

  1. Install the app.
  2. Turn on the Walabot.
  3. Pair your phone with the Walabot.
  4. Start seeing into your walls.
2

Walabot DIY 2

How to calibrate your Walabot

Choose your phone operating system

How to calibrate your Walabot

  1. Place the flat side of the Walabot firmly against drywall.
  2. Press ‘Calibrate’ (while holding the Walabot on the wall).
  3. Press ‘Start calibration’ and move the Walabot in wide circular motions.
  4. Remember to repeat this process if you start work on another wall.
3

Walabot DIY 2

Find studs and stud centers

Choose your phone operating system

Find studs and stud centers

  1. Calibrate before searching for studs in drywall.
  2. Select Images Mode, and move the Walabot over the wall. When it finds a stud you’ll see a graphical representation on your phone.
  3. To find the stud center, move the Walabot slowly over the stud. A Stud Center Indication will be shown when you’re right over the center.
4

Walabot DIY 2

See raw radar images in Expert Mode

Choose your phone operating system

See raw radar images in Expert Mode

  1. Make sure your Walabot is calibrated.
  2. Select Expert Mode.
  3. Place the device on the wall and move slowly over the detection area. The objects inside your wall will show up like a heat map.
  4. Adjust the intensity bar for a more accurate image. You'll find that mostly 80% is the optimum level.

Now that you have the basics covered, see what projects you can do