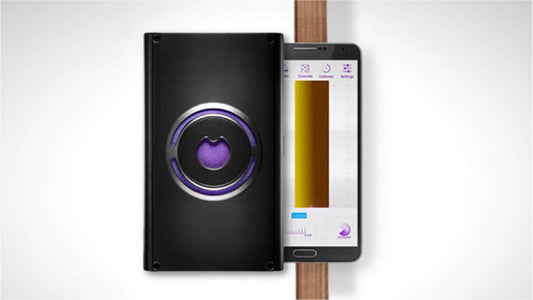
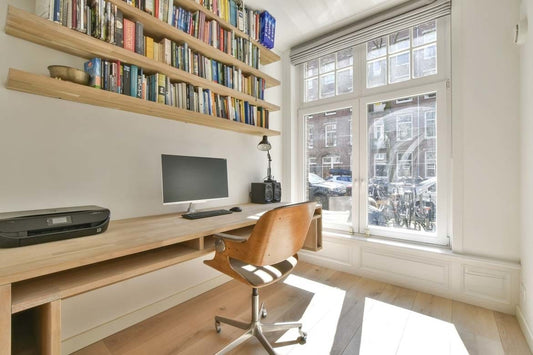
Retrofitting recessed shelving into drywall is an excellent way to add storage and improve the aesthetics of any room. However, this project involves more than just cutting into the wall and inserting shelves. One crucial step is scanning for obstructions like pipes, wires, or studs, which is essential for a safe and successful installation.

Planning your shelving
Before starting, plan where your shelving will go. Consider the size, depth, and number of shelves, as well as how they will complement the room's layout. A clear vision will guide you in avoiding potential obstacles.
Detecting studs
The strongest possible mounting is essential. Even if you want your new shelves to hold only small ornaments, you may want to put heavy books on them in the future. Building your recessed shelving using walls as the vertical structure will ensure that your shelves will stay secure. To locate your studs, make sure to use a quality stud finder.
Scanning for obstructions
The first tool you’ll need is a reliable stud finder, preferably one that can also detect pipes and electrical wires. Carefully scan the entire area where you plan to install the shelves. Mark any wires, or pipes you find - these are areas to avoid when cutting into the wall. Remember, encountering electrical wiring or plumbing can lead to dangerous and costly repairs.
Potential issues in cutting drywall for a recessed shelf
Cutting into drywall may seem straightforward, but it's a task where several issues could surface. Being prepared for these challenges is key to a successful installation.
- Discovering electrical wiring or plumbing: Even with thorough scanning, there's always a risk of stumbling upon electrical wiring or plumbing that wasn't detected. If you encounter these, it's crucial to stop immediately. For electrical wires, if they're in the way but not where the shelves will bear weight, you may be able to reroute them around the shelving area. Plumbing is more complicated – it's often easier to adjust your shelving plans than to move pipes.
- Inconsistent drywall thickness: Sometimes, the thickness of the drywall isn’t uniform, which can lead to uneven cuts or the saw going deeper than intended. To avoid this, start with shallow cuts and gradually deepen them, feeling for changes in resistance. If the depth varies, you may need to adjust your shelving design or use shims to create a uniform surface for mounting.
- Crumbling or damaged drywall: Older drywall or walls that have sustained previous damage might crumble or break away in larger chunks than intended. This makes the installation of shelving challenging. In such cases, it's often best to cut out a larger section and replace it with a new piece of drywall. This approach allows for a fresh, stable surface to work with.
- Misalignment or irregular shape: A common issue, especially for first-timers, is cutting an irregular shape or misaligning the cut with the intended design. A laser level and clear, measured markings can help maintain alignment. If the cut becomes irregular, it may be necessary to slightly enlarge the opening and then use joint compound to correct and smooth out the edges.
Addressing these potential issues requires patience, attention to detail, and sometimes a bit of creativity. Always prioritize safety, especially when dealing with electrical wiring or plumbing, and don't hesitate to seek professional help if the situation becomes too complex to handle as a DIY project.

Building the shelving
With the wall open, you can start building your shelving unit. If you encounter studs within your outlined area, you may need to modify your design slightly. Secure the framing of your shelving to these studs, as they will provide additional support.


