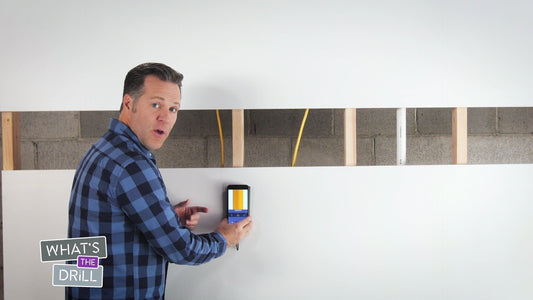

Repairing drywall is a common DIY project that, when done correctly, can seamlessly restore the look of your walls. Here you have a few DOs and DON'Ts that will help you.
Let's get straight to the point.

Dos of drywall repair
- Do assess the damage carefully: Different types of damage require different repair strategies. Small holes and cracks are relatively straightforward, but larger holes or water damage might need more extensive work.
- Do use the right tools and materials: Equip yourself with the necessary tools like a putty knife, sandpaper, joint compound, drywall tape, and a patching material for larger holes. Using the right materials ensures a smoother repair process and a more durable finish.
- Do properly prepare the area: Clean and sand the area around the damage to remove any loose paper or debris. This preparation ensures that the joint compound adheres properly and provides a smooth finish.
- Do apply joint compound in thin layers: For the best results, apply the joint compound in thin, even layers, allowing each layer to dry completely before sanding and applying the next. This prevents cracking and bubbling.
- Do sand smoothly between layers: After each layer of compound dries, sand the area smooth before applying the next layer. This step is key to achieving a seamless finish that blends with the surrounding wall.
Don’ts of drywall repair
- Don’t rush the drying process: Allowing the joint compound to dry completely is crucial. Rushing this process can lead to cracks or an uneven surface.
- Don’t over sand: While sanding is important, overdoing it can damage the drywall's paper layer, leading to more issues. Sand gently and only as much as necessary.
- Don’t ignore safety: Wear a dust mask and safety glasses while sanding to protect yourself from fine particles.
- Don’t skimp on quality: Using cheap materials might save money upfront but can lead to poor results and more repairs down the line. Invest in quality patching materials and compounds.
- Don’t forget to prime and paint: Once your repair is complete and sanded smoothly, apply a primer before painting. This step ensures that the paint adheres evenly and helps conceal the repair.

Repairing drywall is a practical skill that can save you time and money. By following these dos and don’ts, you can tackle most common drywall repairs with confidence and achieve results that are both aesthetically pleasing and long-lasting. Remember, patience and attention to detail are your best allies in any DIY drywall repair project.