No-one said installing shelves would be easy. To ensure they are securely mounted and capable of holding weight, it's vital to understand what's inside your walls. Wall imaging technology plays a crucial role in this process.
The importance of wall imaging:
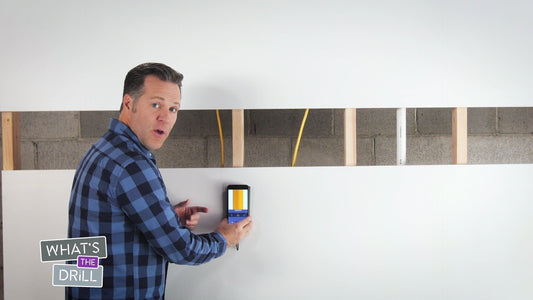
Wall imaging technology, including stud finders and wall scanners, is essential for locating studs, the sturdy wooden or metal frames behind your wall, which provide the best support for floating shelves.
Selecting the right wall imaging tool:
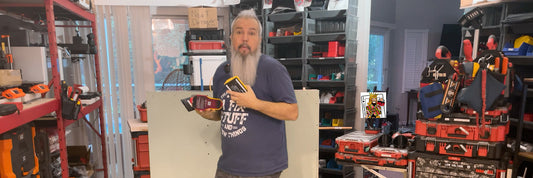
Electronic stud finders: These devices detect changes in wall density to locate studs. Some advanced models can also identify electrical wires and pipes, adding an extra layer of safety.
Magnetic stud finders: Ideal for detecting metal studs or screws/nails in wooden studs, these are simple yet effective tools for shelf installation.
Wall scanners: For a more comprehensive view, wall scanners can provide detailed images of what's inside your drywall, including studs, wiring, and pipes.

Steps for installing floating shelves:
- Planning your layout: Decide where you want to place your shelves. Keep in mind the items you plan to display and their weight.
- Using wall imaging: Once you have your layout, use your wall imaging tool to locate the studs. Mark these locations as they will be the primary support for your shelves.
- Drilling pilot holes: After confirming the stud locations, drill pilot holes for the shelf brackets. Ensure these holes align with the center of the studs for maximum support.
- Mounting the brackets: Secure the brackets to the studs using appropriate screws. For drywall, use drywall anchors for added stability.
- Installing the shelf: Place your floating shelf onto the brackets and secure it as per the manufacturer's instructions.
What could go wrong when installing floating shelves without proper tools?
While it's possible to successfully install floating shelves without the use of wall imaging, taking this shortcut can lead to several risks.
Without a clear understanding of what's inside your wall, you might miss the studs, resulting in shelves that are unstable and prone to collapsing under weight. This not only damages the wall and the shelf but also poses a safety risk, especially if heavy objects are placed on the shelf.
Moreover, there's a chance of accidentally drilling into electrical wiring or plumbing hidden in the walls, which can lead to costly repairs and potential safety hazards.
Tips for a successful installation:
- Double-check measurements: Always measure twice before drilling to ensure accuracy.
- Consider shelf weight limits: Be mindful of the weight capacity of both your shelves and the wall.
- Test for stability: Before placing items on the shelf, test its stability and adjust if necessary.
Installing floating shelves can be a rewarding DIY project, and wall imaging technology is a valuable asset in this process. By accurately locating studs and understanding what's behind your walls, you can install shelves that are both beautiful and secure, enhancing the functionality and aesthetics of your space.


