A wall-mounted coat rack is a practical and stylish addition to any hallway, providing a convenient place to hang coats, hats, and bags. This guide will walk you through the steps to install a wall-mounted coat rack, ensuring a secure and aesthetic installation, and answer common related questions.
Why Installing a Wall-Mounted Coat Rack is Beneficial
A wall-mounted coat rack helps keep your hallway organized and clutter-free. It also offers a designated spot for guests to hang their outerwear, adding both functionality and a welcoming touch to your home.
Tools and Materials Needed:
- Walabot stud finder
- Measuring tape
- Level
- Pencil
- Drill and drill bits
- Drywall anchors or toggle bolts
- Screws
- Screwdriver
- Wall-mounted coat rack
- Adhesive (optional, for no-drill installation)
Step-by-Step Guide to Installing a Wall-Mounted Coat Rack
Preparation:
- Choosing the Location:
- Select a convenient and accessible location in your hallway. Ensure there is enough space for coats to hang without obstructing walkways or doors.
- Gathering Tools and Materials:
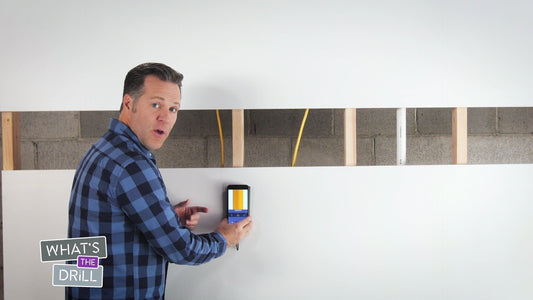
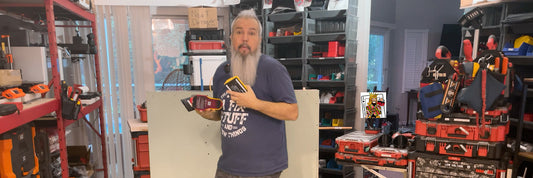
- Collect all necessary tools and materials, including a Walabot stud finder to locate studs behind the drywall.
Identifying Studs and Marking the Installation Points:
- Using a Walabot Stud Finder:
- Switch on the Walabot stud finder and calibrate it on a clear section of the wall where you plan to install the coat rack. Move the stud finder horizontally across the wall to locate studs and mark their positions with a pencil. You’ll need to mount your coat rack to those studs.
- Marking the Mounting Points:
- Hold the coat rack against the wall at the desired height. Use a level to ensure it is straight, and mark the positions for drilling with a pencil. Ensure the marks align with the studs or designated anchor points.
Installing the Coat Rack:
- Drilling Pilot Holes:
- Drill small pilot holes at the marked spots. If you are mounting into studs, use a smaller drill bit. Drill the pilot hole slightly smaller than the anchor’s outer diameter. This way the anchor can bite into the drywall and stay snug when you tap it in. Example: for a 5/16” plastic anchor, use a 1/4” drill bit. size. Drill the hole the same size as the anchor (if pre-drilling is required at all). Many self-drilling metal anchors don’t need a pilot hole—they screw directly into the drywall. But if a hole is needed (e.g., toggle bolts or molly bolts), it should match the anchor size so it fits cleanly without wobble.
- Inserting Drywall Anchors or Toggle Bolts:
- Insert the drywall anchors or toggle bolts into the pilot holes. Tap them gently with a hammer until they are flush with the wall. For toggle bolts, insert the bolt through the coat rack mounting hole before pushing it into the wall.
- Securing the Coat Rack:
- Align the coat rack with the pilot holes and insert screws through the rack into the anchors or studs. Tighten the screws securely to ensure the coat rack is firmly attached to the wall.

No-Drill Installation (Optional):
- Using Adhesive:
- If you prefer not to drill, you can use a strong adhesive suitable for drywall. Apply the adhesive to the back of the coat rack according to the manufacturer's instructions.
- Attaching the Coat Rack:
- Press the coat rack firmly against the wall at the desired location. Hold it in place for the recommended amount of time to allow the adhesive to bond.
- Ensuring Stability:
- Allow the adhesive to cure fully before hanging any items on the coat rack. Follow the manufacturer's curing time guidelines.
FAQ Section
How to hang a wall-mounted coat rack? To hang a wall-mounted coat rack, use a stud finder to locate studs, mark the mounting points, drill pilot holes, and secure the coat rack with screws.
How do you attach a coat rack to the wall without drilling? To attach a coat rack without drilling, use a strong adhesive suitable for drywall. Apply the adhesive to the back of the coat rack and press it firmly against the wall. Ensure the adhesive fully cures before hanging items.
How high should a coat rack be mounted on the wall? A coat rack should typically be mounted at a height of 5 to 6 feet from the floor, depending on the average height of the users and the length of the coats being hung.
Can I glue a coat rack on the wall? Yes, you can glue a coat rack to the wall using a strong adhesive designed for use with drywall. Ensure the adhesive is suitable for the weight of the coat rack and the items to be hung.
Installing a wall-mounted coat rack in your hallway enhances organization and adds a functional touch to your space. By following these steps and using tools like the Walabot stud finder, you can ensure a secure and stylish installation. For more DIY tools and guides, visit Walabot's website.


