Installing a new bathroom fixture can enhance the functionality and aesthetics of your bathroom, but it's crucial to avoid damaging hidden pipes during the installation process. This guide will help you understand how to avoid hidden pipes, ensure a safe installation, and address common related questions.
Why Avoiding Hidden Pipes is Important
Avoiding hidden pipes during installation prevents costly damage to your plumbing system, water leaks, and potential water damage to your home. Properly identifying and avoiding these pipes ensures a smooth and safe installation process.
Tools and Materials Needed:
- Walabot stud finder with pipe-detection feature
- Measuring tape
- Level
- Pencil
- Drill and drill bits
- Pipe locator (if necessary)
- Wrench
- Pipe caps (if capping off a water line)
- Teflon tape
- Bathroom fixture
- Screws and anchors
Step-by-Step Guide to Avoiding Hidden Pipes
Preparation:
- Planning the Installation:
- Choose the location for the new bathroom fixture, ensuring it is convenient and functional. Consider the layout of existing plumbing and electrical systems.
- Gathering Tools and Materials:
- Collect all necessary tools and materials, including a Walabot stud finder with a pipe-detection feature.
Identifying Hidden Pipes:
- Using a Walabot Stud Finder:
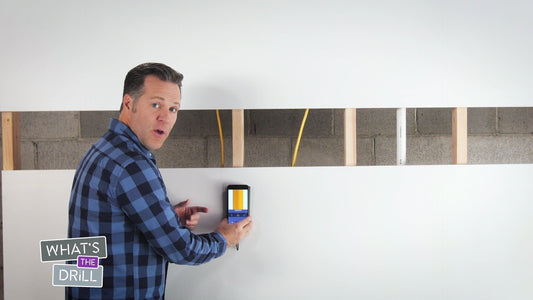
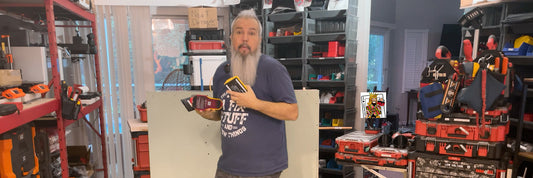
- Turn on the Walabot stud finder and calibrate it against a section of the wall without pipes. Move the stud finder horizontally across the wall to locate hidden pipes. Mark these locations with a pencil.
- Double-Checking with a Pipe Locator:
- If needed, use a pipe locator to verify the presence of hidden pipes. This can provide additional assurance and accuracy.

Installing the Bathroom Fixture:
- Marking the Installation Spot:
- Hold the bathroom fixture against the wall at the desired height. Use a level to ensure it is straight, and mark the positions for drilling with a pencil. Ensure the marks avoid the areas where hidden pipes were detected.
- Drilling Pilot Holes:
- Drill small pilot holes at the marked spots. Be cautious and drill slowly to avoid hitting any pipes that might be close by.
- Securing the Fixture:
- Attach the bathroom fixture to the wall using screws and anchors. Ensure it is firmly secured and level.
Final Touches:
- Ensuring Stability:
- Check that the fixture is securely mounted and does not wobble. Apply gentle pressure to ensure it is firmly in place.
- Checking for Leaks:
- Turn on the water supply and check for any leaks around the fixture. If any leaks are detected, tighten the connections and apply Teflon tape as needed.
FAQ Section
How do you hide bathroom pipes? To hide bathroom pipes, you can use decorative covers, box them in with drywall or cabinetry, or install a false wall. Paint or wrap pipes to match the bathroom décor for a seamless look.
How to hide exposed pipes on a ceiling? Exposed pipes on a ceiling can be hidden using drop ceilings, soffits, or decorative covers. Painting them the same color as the ceiling can also help them blend in.
How do I find hidden pipes? Use a stud finder with a pipe-detection feature, like the Walabot, to locate hidden pipes. Pipe locators and thermal cameras can also help identify the presence and location of hidden pipes.
How do you cap off a water line? To cap off a water line, turn off the water supply and use a wrench to disconnect the pipe. Wrap the threads of the pipe with Teflon tape and attach a pipe cap. Tighten the cap securely to prevent leaks.
Installing a new bathroom fixture while avoiding hidden pipes is essential for a safe and successful project. By using tools like the Walabot stud finder and following careful installation steps, you can prevent damage to your plumbing system. For more DIY tools and guides, visit Walabot's website.


