Cutting drywall to locate a leak is an essential skill for homeowners dealing with water damage or plumbing issues. Properly cutting and inspecting drywall can help pinpoint the source of a leak, enabling effective repairs and preventing further damage. This guide covers the steps and tools needed to safely cut drywall and find a leak.
Why Cutting Drywall is Necessary
- Pinpoint Leak Sources: Accurately identify the location of leaks behind walls or ceilings.
- Prevent Further Damage: Address leaks promptly to prevent mold growth, structural damage, and costly repairs.
- Facilitate Repairs: Create access points for repairing plumbing, roofing, or other sources of leaks.
Tools and Materials Needed
- Utility knife or drywall saw
- Walabot wall scanner
- Stud finder
- Measuring tape
- Pencil
- Flashlight
- Safety goggles and gloves
- Drop cloth or plastic sheeting
- Bucket and towels
Steps to Cut Drywall to Find a Leak
- Identify Signs of a Leak:
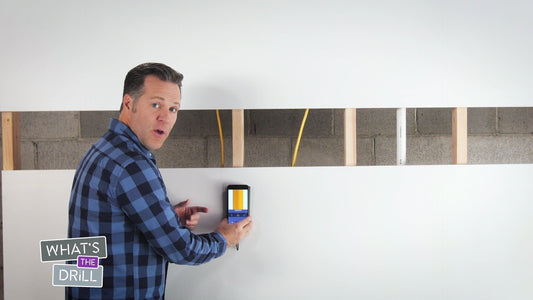
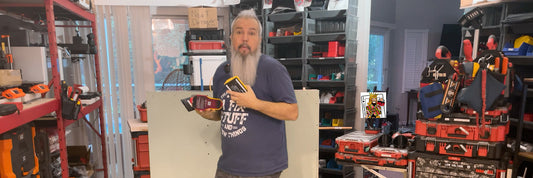
- Look for visible signs of water damage, such as stains, discoloration, or bulging drywall. Use tools like the Walabot wall scanner to detect moisture and leaks behind drywall.
- Prepare the Area:
- Lay down a drop cloth or plastic sheeting to catch dust and debris. Wear safety goggles and gloves to protect yourself from dust and sharp edges.
- Mark the Area to Cut:
- Use a stud finder to locate and avoid studs. Mark the area you need to cut with a pencil, ensuring it's large enough to inspect the leak but not excessively large.
- Cut the Drywall:
- Use a utility knife or drywall saw to cut along the marked lines. Cut slowly and carefully to avoid damaging any pipes, wires, or other structures behind the drywall. Start with a small inspection hole and enlarge it as needed.
- Inspect the Area:
- Use a flashlight to inspect the area behind the drywall for signs of leaks. Look for wet insulation, dripping water, or moisture on pipes and other surfaces.
- Identify the Leak Source:
- Trace the leak to its source. This may involve following water trails, inspecting plumbing joints, or checking roofing or window seals.
- Contain the Leak:
- Use a bucket and towels to catch and contain any leaking water. Turn off the water supply if the leak is from plumbing.
- Make Necessary Repairs:
- Depending on the source of the leak, you may need to repair a plumbing joint, seal a window, or patch a roof. Consult a professional if the repair is beyond your expertise.
- Replace the Drywall:
-
Once the leak is repaired and the area is dry, replace the cut drywall section. Secure it with drywall screws, apply joint compound, tape the seams, sand, and paint to match the surrounding wall.

FAQ Section
How to find a leak behind drywall? First, identify the approximate area of the leak behind the drywall by looking for visible signs like water stains or bulging sections. Once you've narrowed down the location, use a tool like the Walabot wall scanner to pinpoint the pipes within that area.
How do you cut into a ceiling to find a leak? Use a utility knife or drywall saw to cut a small inspection hole in the ceiling near the suspected leak area. Ensure you avoid joists and electrical wiring.
How to cut an inspection hole in drywall? Mark the area to cut with a pencil, avoiding studs and electrical wiring. Use a utility knife or drywall saw to cut a small, manageable hole for inspection.
How to cut an access hole in drywall? Mark the desired access area, ensuring it's large enough to perform necessary repairs. Cut carefully with a utility knife or drywall saw, avoiding studs, pipes, and wiring.
Tips for Cutting Drywall to Find a Leak
- Use Proper Tools:
- Tools like the Walabot wall scanner can help you locate the studs where you need to attach the replacement drywall, while also ensuring you avoid cutting into any hidden pipes or wires.
- Start Small:
- Begin with a small inspection hole and enlarge it as needed. This minimizes damage and makes repairs easier.
- Ensure Safety:
- Always wear safety goggles and gloves when cutting drywall. Be cautious of electrical wiring and sharp edges.
- Document the Process:
- Take photos of the area before and after cutting to document the leak and any repairs made.
Cutting drywall to find a leak is a crucial step in addressing water damage and preventing further issues. By following the outlined steps and using tools like the Walabot wall scanner, you can accurately locate leaks and perform necessary repairs. For more DIY tips and tools, visit Walabot's website.


